Clipping intersections
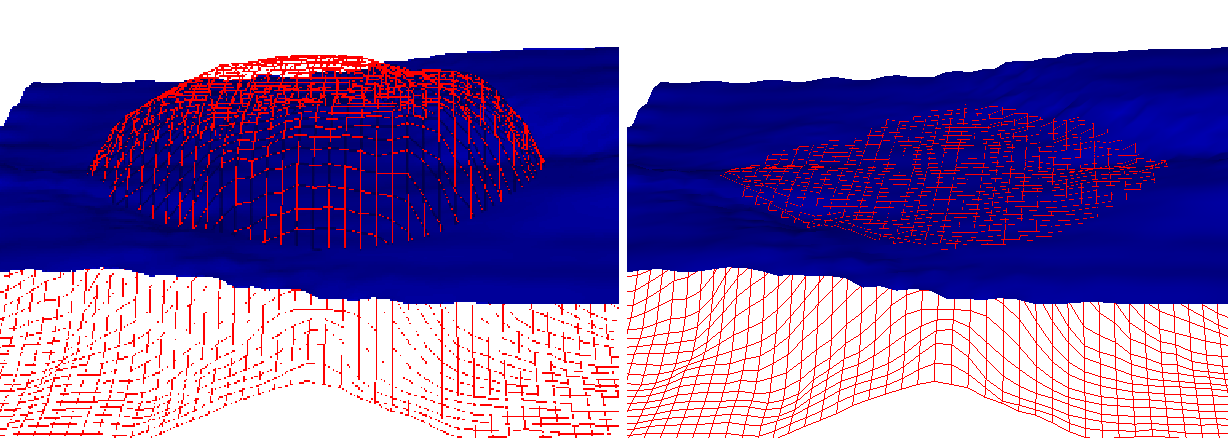
Before and after clipping the red 2D grid click to enlarge
Use the Clip Intersections tool to resolve intersections between 2D grids, or between a 2D grid and a tri-mesh. This adjusts the depth values in such a way that the modified grid lies entirely either above or below the surface it was previously intersecting. If your intention is to remove certain nodes or groups of nodes, other removal tools are also available that handle the removal of nodes in a variety of ways.
To use the tool:
- Open the tool (
- Select the source that contains the 2D grid or grids you want to clip. All the 2D grids in the selected model are shown in the 2D grids table on the Objects tab.
- Check the checkboxes next to the grid or grids you want to clip.
-
On the Intersections tab, click the Calculate button to compute the intersections between 2D grids and tri-meshes. Only intersections between horizon, intrusion, and unconformity surfaces are shown. The list shows the intersecting surfaces. Check the checkbox in front of the intersection you want to clip. You can only select one intersection at a time. The surface in the ‘To be clipped’ list will be clipped against the surface in the ‘Intersecting’ list.
You can show the selected 2D grids in your 3D view. Right click on the list and select Make checked items visible from the context menu. In your 3D view, selected grids that were not shown become visible and not-selected grids that were previously visible are hidden.
The list shows all intersections, but not all surfaces may appear under the ‘To be clipped’ header. Surfaces not in the ‘To be clipped’ list will not be clipped themselves, the other surfaces will be clipped against them. If you want to clip a specific surface that is not in the ‘To be clipped’ list, select only that surface in the objects tab 2D grids list and click Calculate. You can now select the surface for clipping. - Check the Clip downwards checkbox if you want the grid to be clipped above the grid it is intersecting. If you leave this unchecked, the grid is clipped where it lies below the grid it is intersecting.
- Check the Recalculate intersections checkbox if you want the intersections between the surfaces you have selected to be recalculated after the clipping. These will then appear in the Intersections list. If you leave the checkbox unchecked, the intersections between the surfaces are not recalculated and the Intersections list is emptied. To continue clipping another surface, review your selection click Calculate again.
- Click Apply or OK to clip the grid or grids.